N

NailInspo Lab

Trendy nail art, short gel & press-on picks

Salon-quality nails at home — no salon bill

🔖 Pinterest nail creator · 2M+ monthly views

Our Press-On Picks

Six sets & gel kits — each links straight to its Amazon listing
About these picks
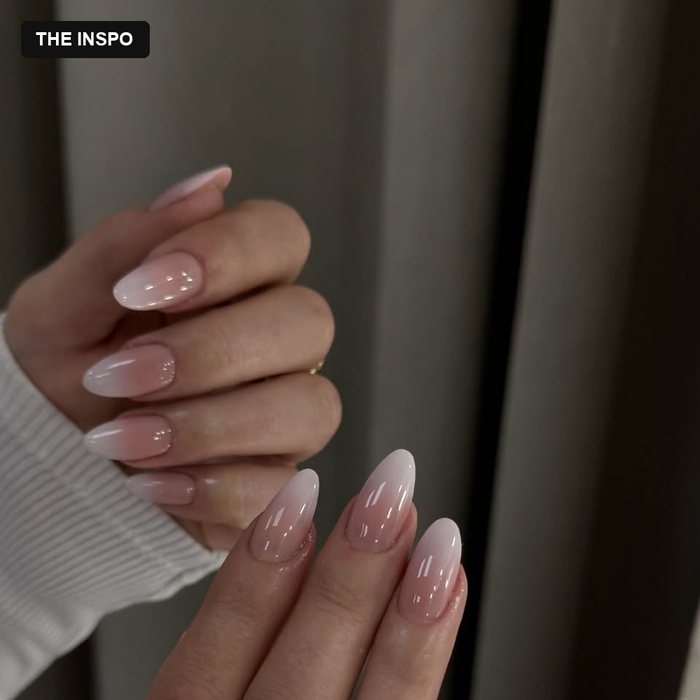
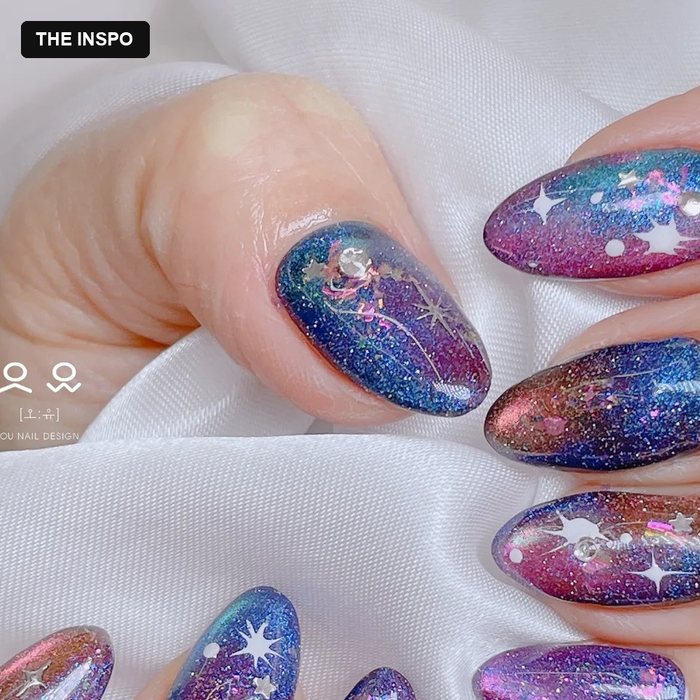
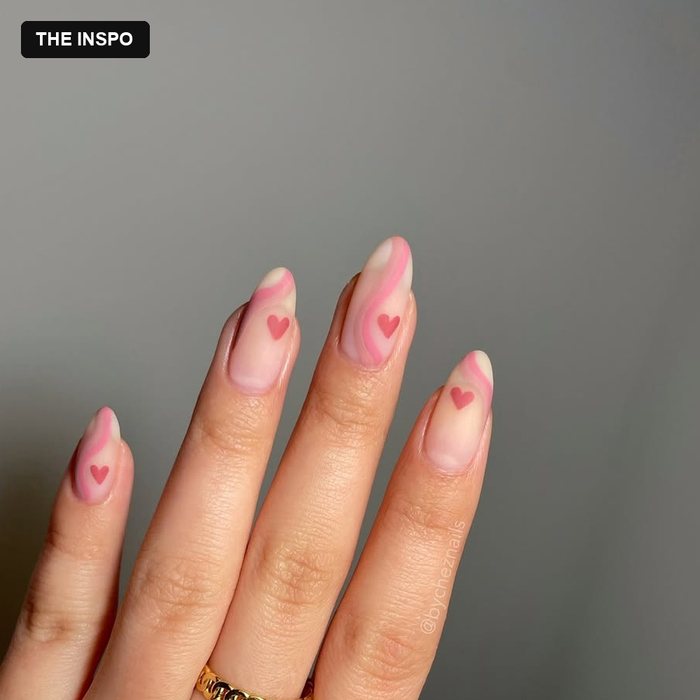
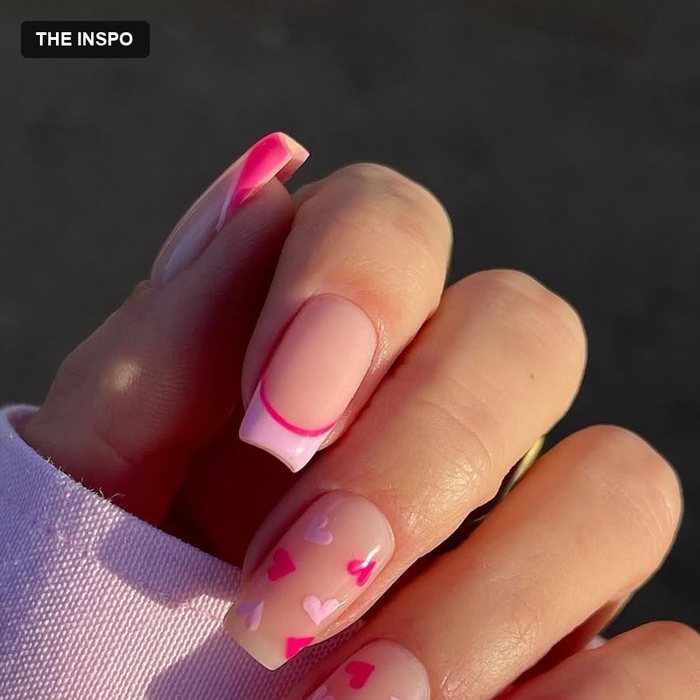
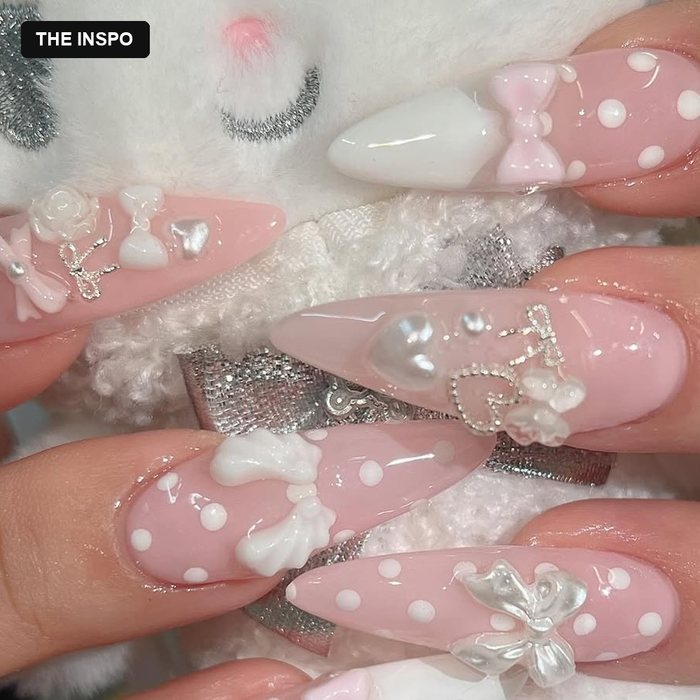
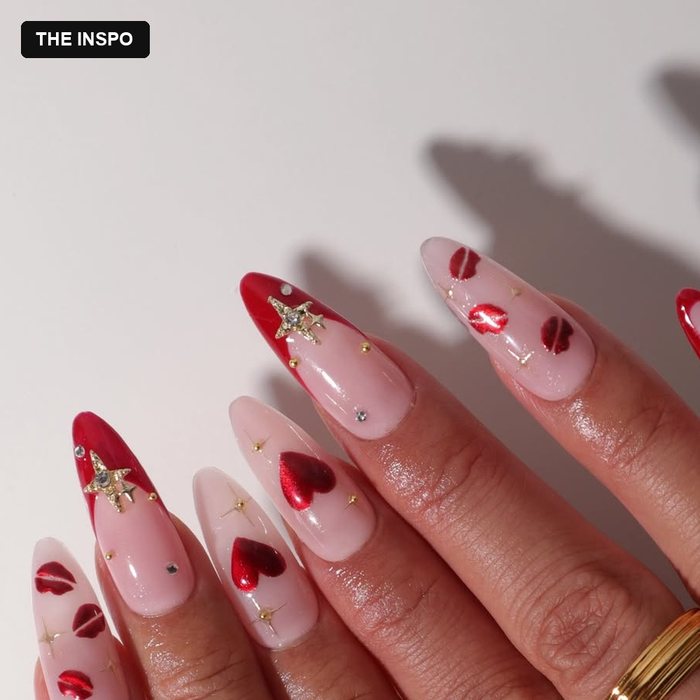
  1. Each tile is an inspiration look from our Pins, not a photo of the product. The real product photo, size chart and price are on the Amazon page.
  2. Price, ratings and availability are set by Amazon and change often, so they are always shown on the Amazon page instead of being copied here.
  3. Press-on sets ship with a spread of sizes; if you're between two, the size guide in the listing photos is the thing to read.

Press-On Nails: A Quick Guide

What actually decides how long a set lasts — and how to take it off without damage

1. Applying a set

  1. Prep decides everything. Wipe each nail with an alcohol pad and push the cuticle back gently with a wooden stick. Oil left on the nail plate is the most common reason a tip lifts early.
  2. Size every nail on its own. Pick the tip that covers sidewall to sidewall without touching the skin. Between two sizes, take the larger one and press the sides in slightly — a tip that is too small will pop off.
  3. Glue or adhesive tabs. Liquid glue holds longer, usually one to two weeks. Adhesive tabs come off in minutes and are the better choice for a single evening or for reusing a set.
  4. Press, don't wiggle. Hold each tip for about thirty seconds, working from the cuticle towards the tip so trapped air can escape. Keep the hands out of water for the first hour.

2. Making a set last

  • Apply them before you shower rather than after, and skip hand cream until the glue has fully cured.
  • Wear gloves for washing up and cleaning. Hot water and detergent soften the bond.
  • Keep the spare tips and glue from the kit. Once the natural nail grows out there is a small gap at the cuticle, and one touch-up buys you another week.

3. Removing them without damage

Never pry a press-on off dry — the surface layer of the natural nail can come away with it, which is what leaves nails thin and flaky afterwards.

  1. Soak the fingers in warm water with a few drops of oil for about ten minutes, or use the solvent that came with the kit.
  2. Work a wooden stick in from the side edge and let the tip release on its own. If you feel resistance, stop and soak a little longer.
  3. Buff very lightly if any residue remains, then finish with cuticle oil.

4. Press-on set or at-home gel kit?

Press-on set Ready in about ten minutes, no curing lamp, easy to swap for a weekend or one event. Best if you like changing your look often.
At-home gel kit Needs a lamp and some practice, but gives a continuous finish for two to three weeks and leaves more room for custom art.

Pick the one that matches how often you actually change your nails — both are worth learning if you do them yourself.